Ask a roofer where most leaks start, and the answer is rarely the open field of shingles. It is the flashing. Flashing is the quiet, unglamorous detail that handles every place the roof meets something else, and when it is done right you never think about it. When it is done wrong, it is the first place water finds its way in. Here is what flashing is and why it matters so much.
What flashing actually is
Flashing is thin metal, usually aluminum or steel, that seals the joints and transitions on a roof. Shingles do a great job of shedding water across a flat slope, but they cannot seal the spots where the roof changes direction or runs into a wall, a chimney, or a pipe. Flashing bridges those gaps and directs water back onto the shingles and down the roof instead of letting it slip into the seam.
Where flashing does its work
Around chimneys, where several pieces work together to seal a tricky, leak-prone joint.
At skylights, which need careful flashing on every side to stay watertight.
In the valleys where two roof slopes meet and channel a heavy flow of water.
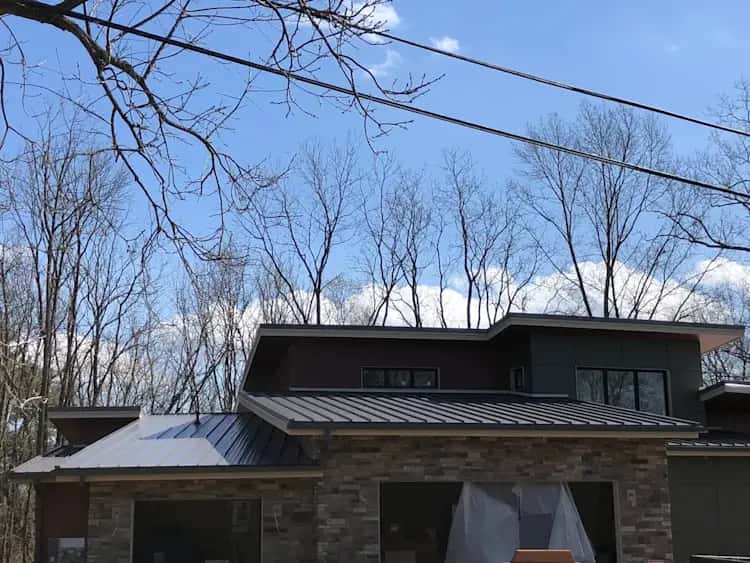
Where the roof meets a vertical wall, such as a dormer or a second story.
Around plumbing vents, exhaust pipes, and other penetrations through the roof.
Along the eaves and rakes as drip edge, which directs water into the gutter.
Why it is where leaks start
Every one of those spots is a break in the smooth surface of the roof, and water always looks for the weak point. If flashing is missing, installed backward, sealed with nothing but caulk, or simply reused when it should have been replaced, water gets behind it. From there it works into the deck and the home, often running some distance before it shows up as a stain, which is why flashing leaks can be hard to trace.
The shortcuts that cause failures
Flashing is also where a rushed or cut-rate install shows up first. The common shortcuts are easy to take and expensive to live with:
Reusing old, corroded flashing on a new roof to save time and material.
Relying on a bead of caulk in place of properly formed and layered metal.
Skipping the step flashing where the roof meets a wall.
Installing pieces in the wrong order so water is directed under rather than over.
Doing it right
Good flashing is about correct materials installed in the correct order so that every layer sheds onto the one below it. On a quality roof, the flashing is replaced rather than reused during a tear-off, the chimney and wall joints are properly stepped and layered, and the valleys and penetrations are detailed with care. These are the parts of the job you never see once the roof is finished, which is exactly why they get skipped on a cheap install and exactly why they matter.
When to have it checked
If you have a stubborn leak that comes and goes with the weather, the flashing is one of the first places to look. A professional inspection can find the worn or failed flashing behind a leak and document it with photos so you can see the problem yourself. Catching it early keeps a small flashing repair from becoming deck damage.
Chasing a leak or planning a new roof? We will inspect your flashing and the rest of the system, document what we find with photos, and give you an honest recommendation. Reach out for a free estimate.